


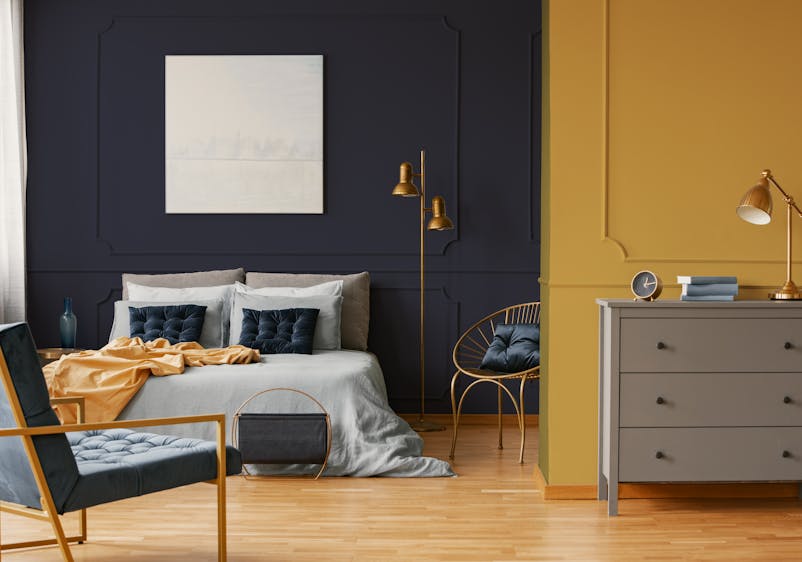
Colour Combinations
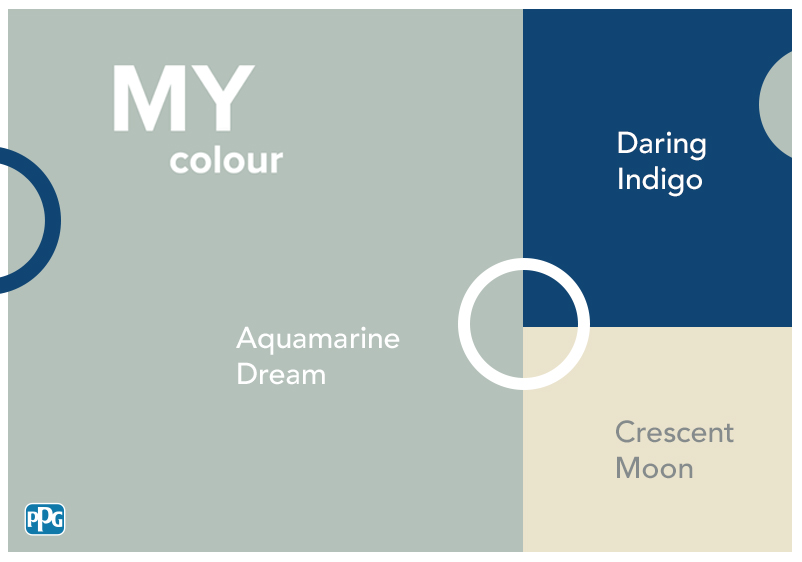
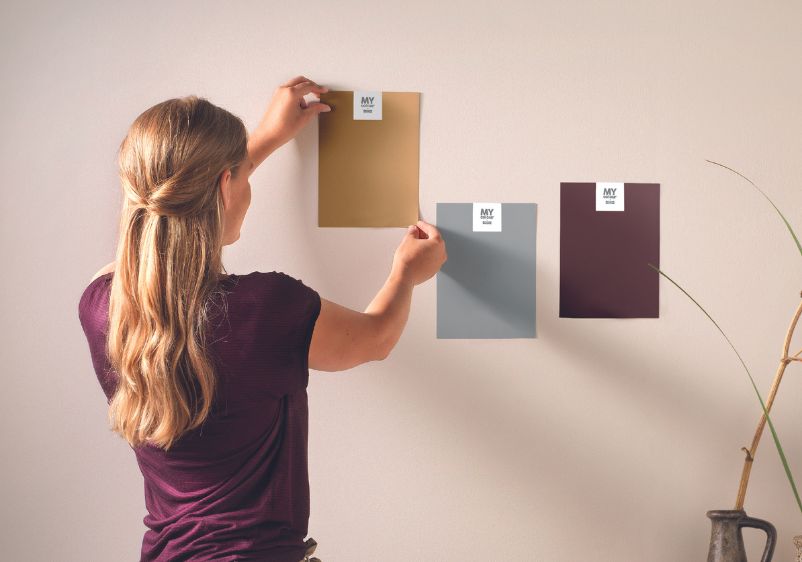
Combine paint colours with confidence using your favourite Johnstone's paint colours
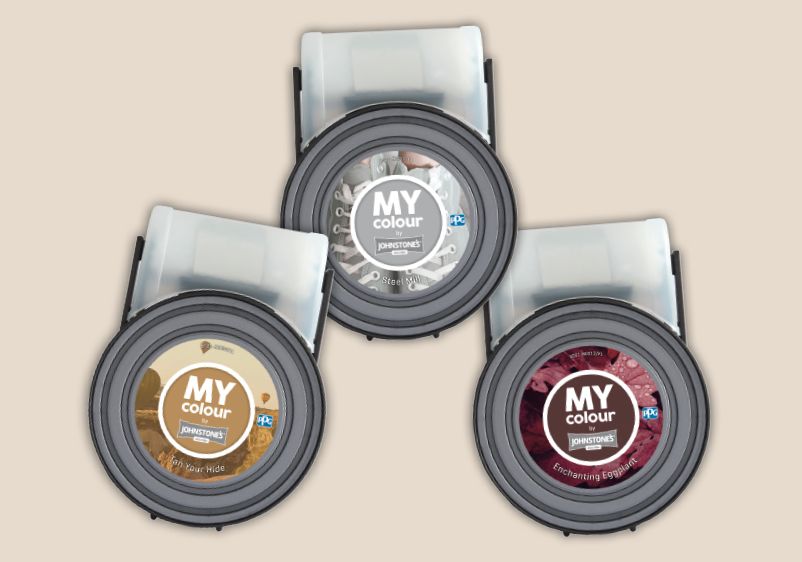
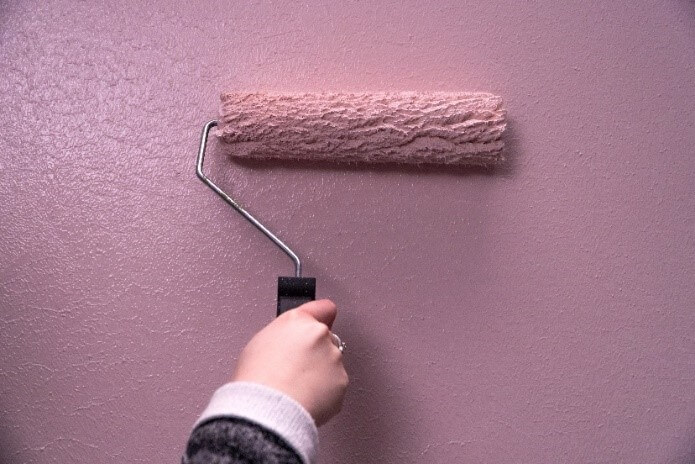
Found your ideal shade? Try it out with our paint colour tester

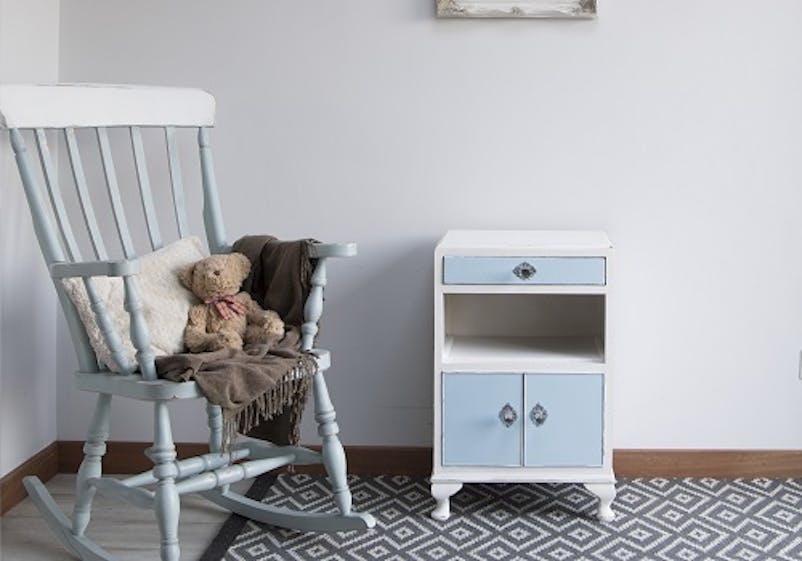
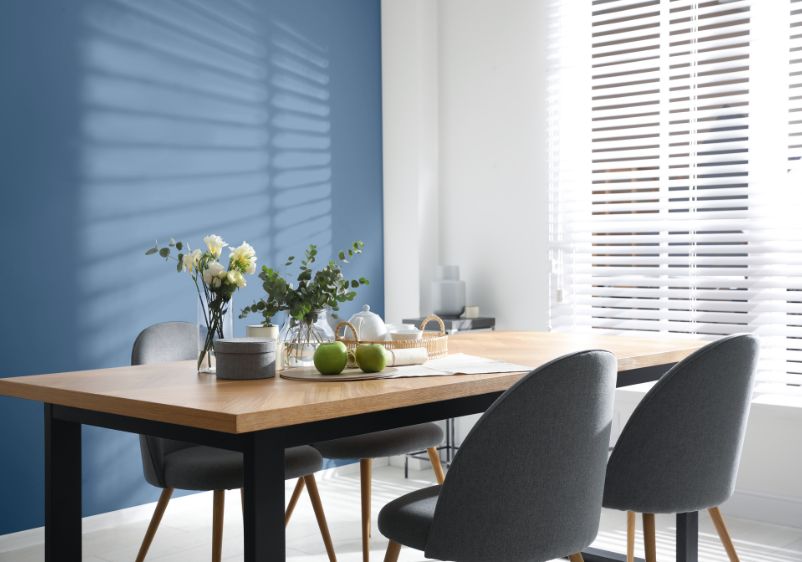
Explore ideas for applying MY colour principles to your living space
 Store Finder
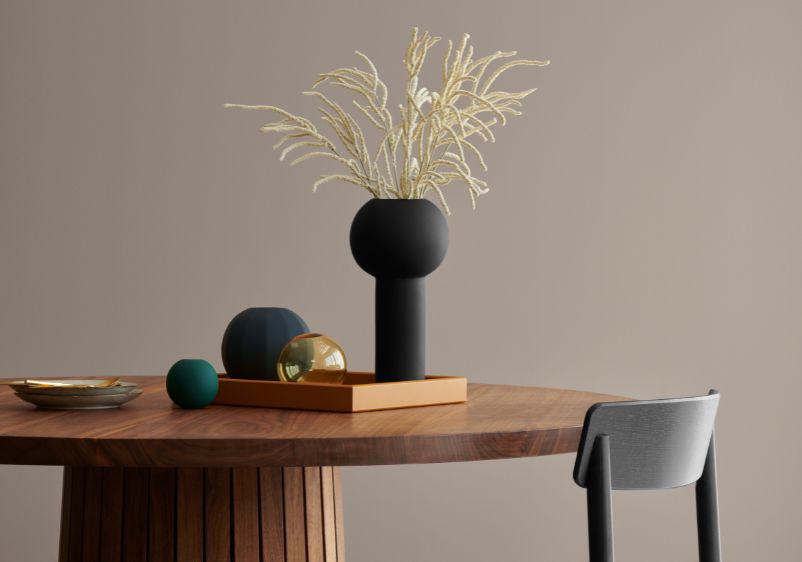
Browse Johnstone's entire range of colours by colour family
Handy information to help you get started with your paint project
Our Peel & Stick samples are made with 100% real paint
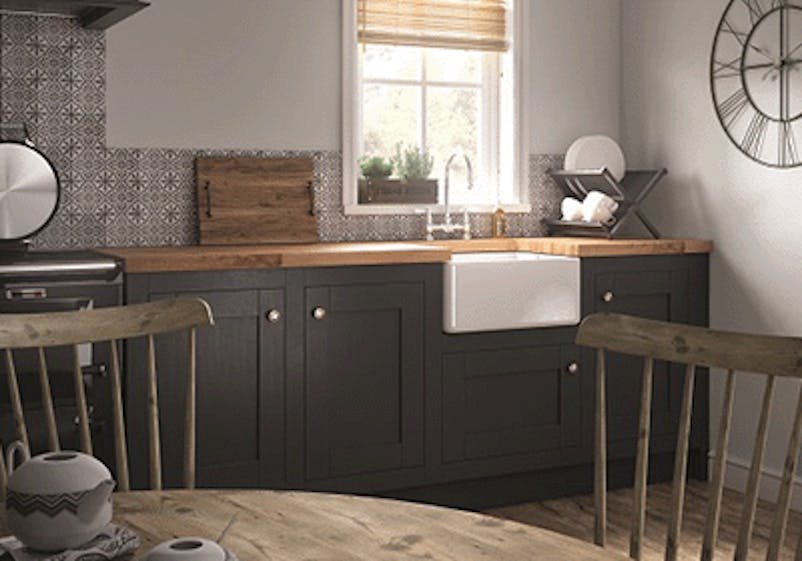
Explore the latest trends identified by our paint colour specialists
Explore ideas for applying MY colour principles to your living space
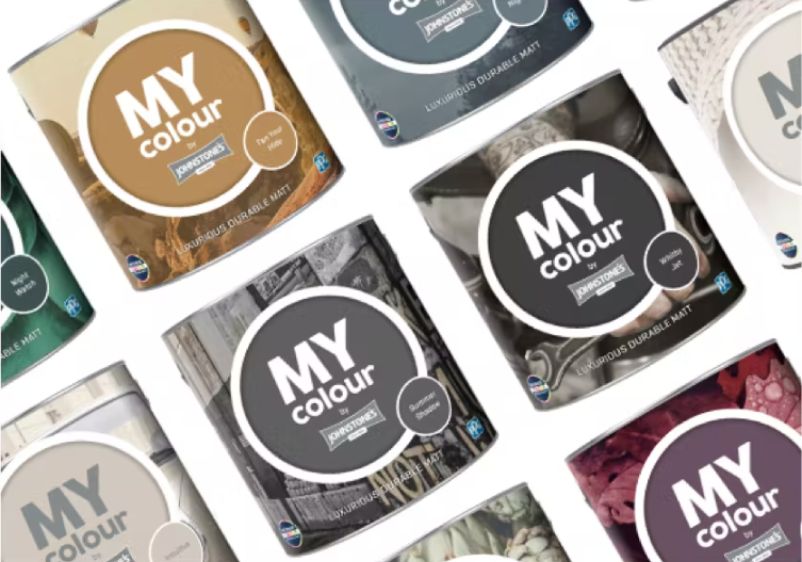
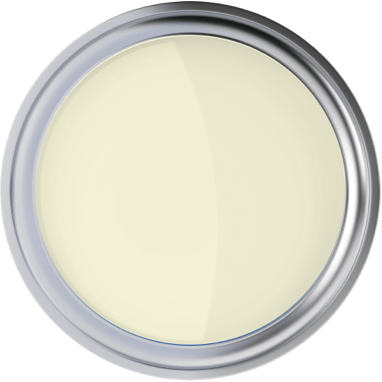
Browse our twenty-one on-trend ready mixed colours

Combine paint colours with confidence using your favourite Johnstone's paint colours
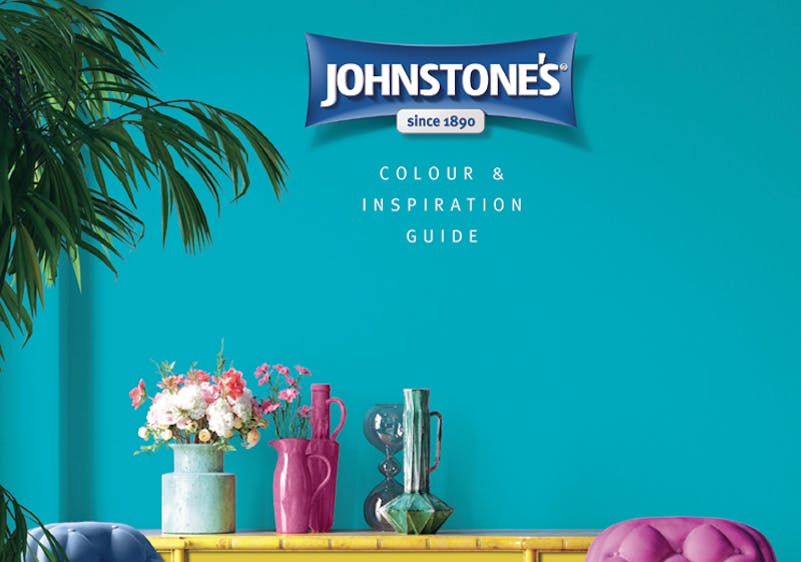
Browse the latest trends, read our helpful tips and design guides, or learn more about our range of Johnstone's Paints
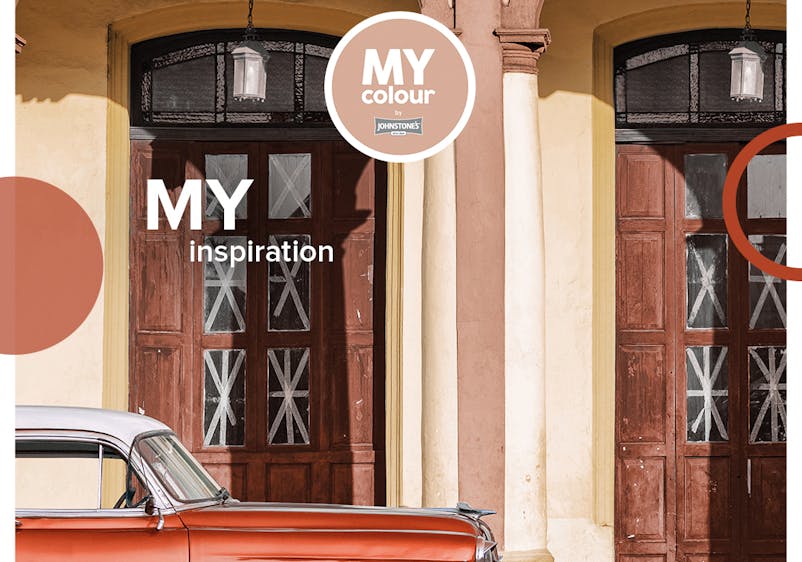
Explore the new MY colour by Johnstone's luxurious durable matt collection


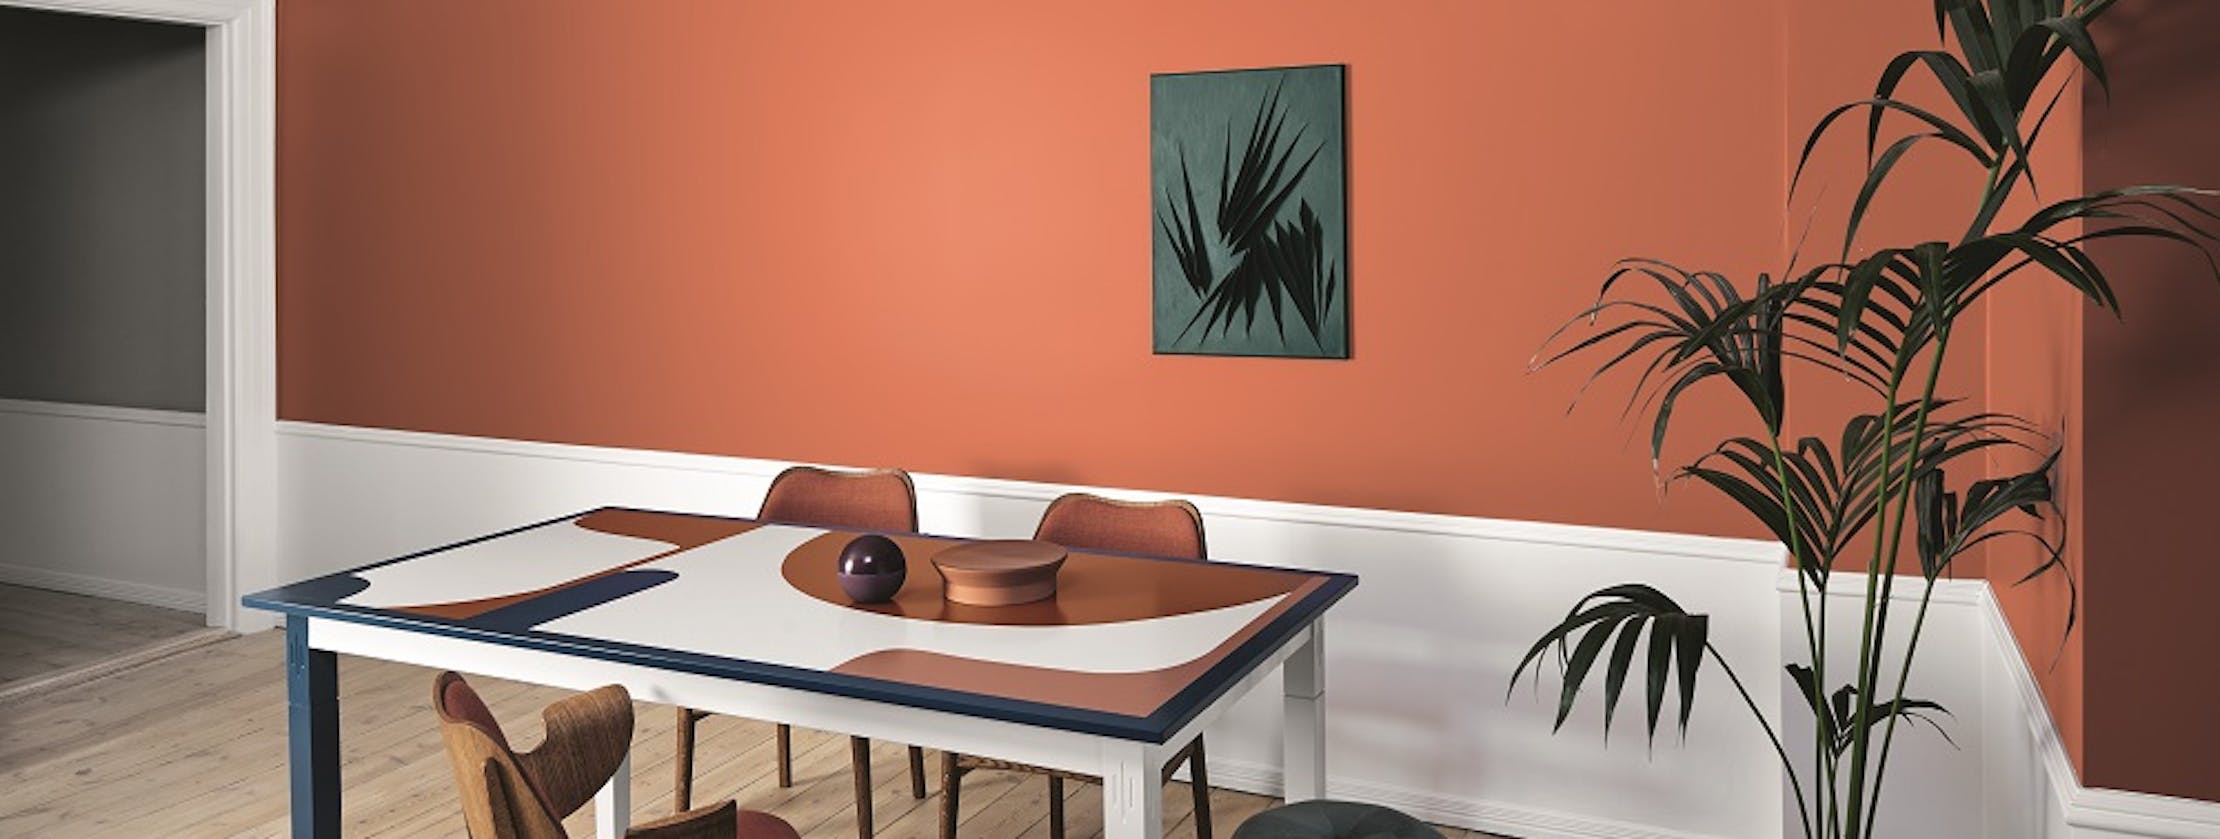
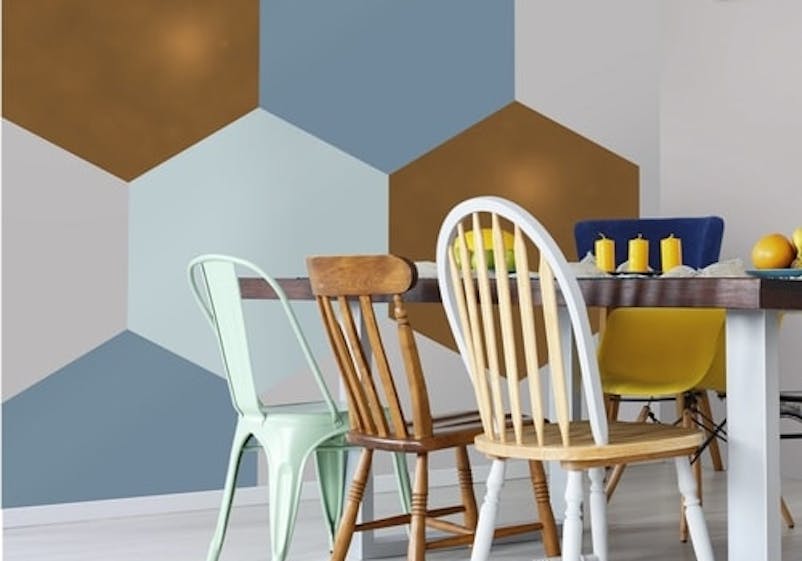
Browse our trend stories to get inspiration on how to use and combine colours to create rooms with character.
A brief guide on how to choose the right paint for you and your project.