The store will not work correctly in the case when cookies are disabled.
JavaScript seems to be disabled in your browser. For the best experience on our site, be sure to turn on Javascript in your browser.
Same Day Dispatch on Orders before 2pm Paint for every new beginning Shop Now
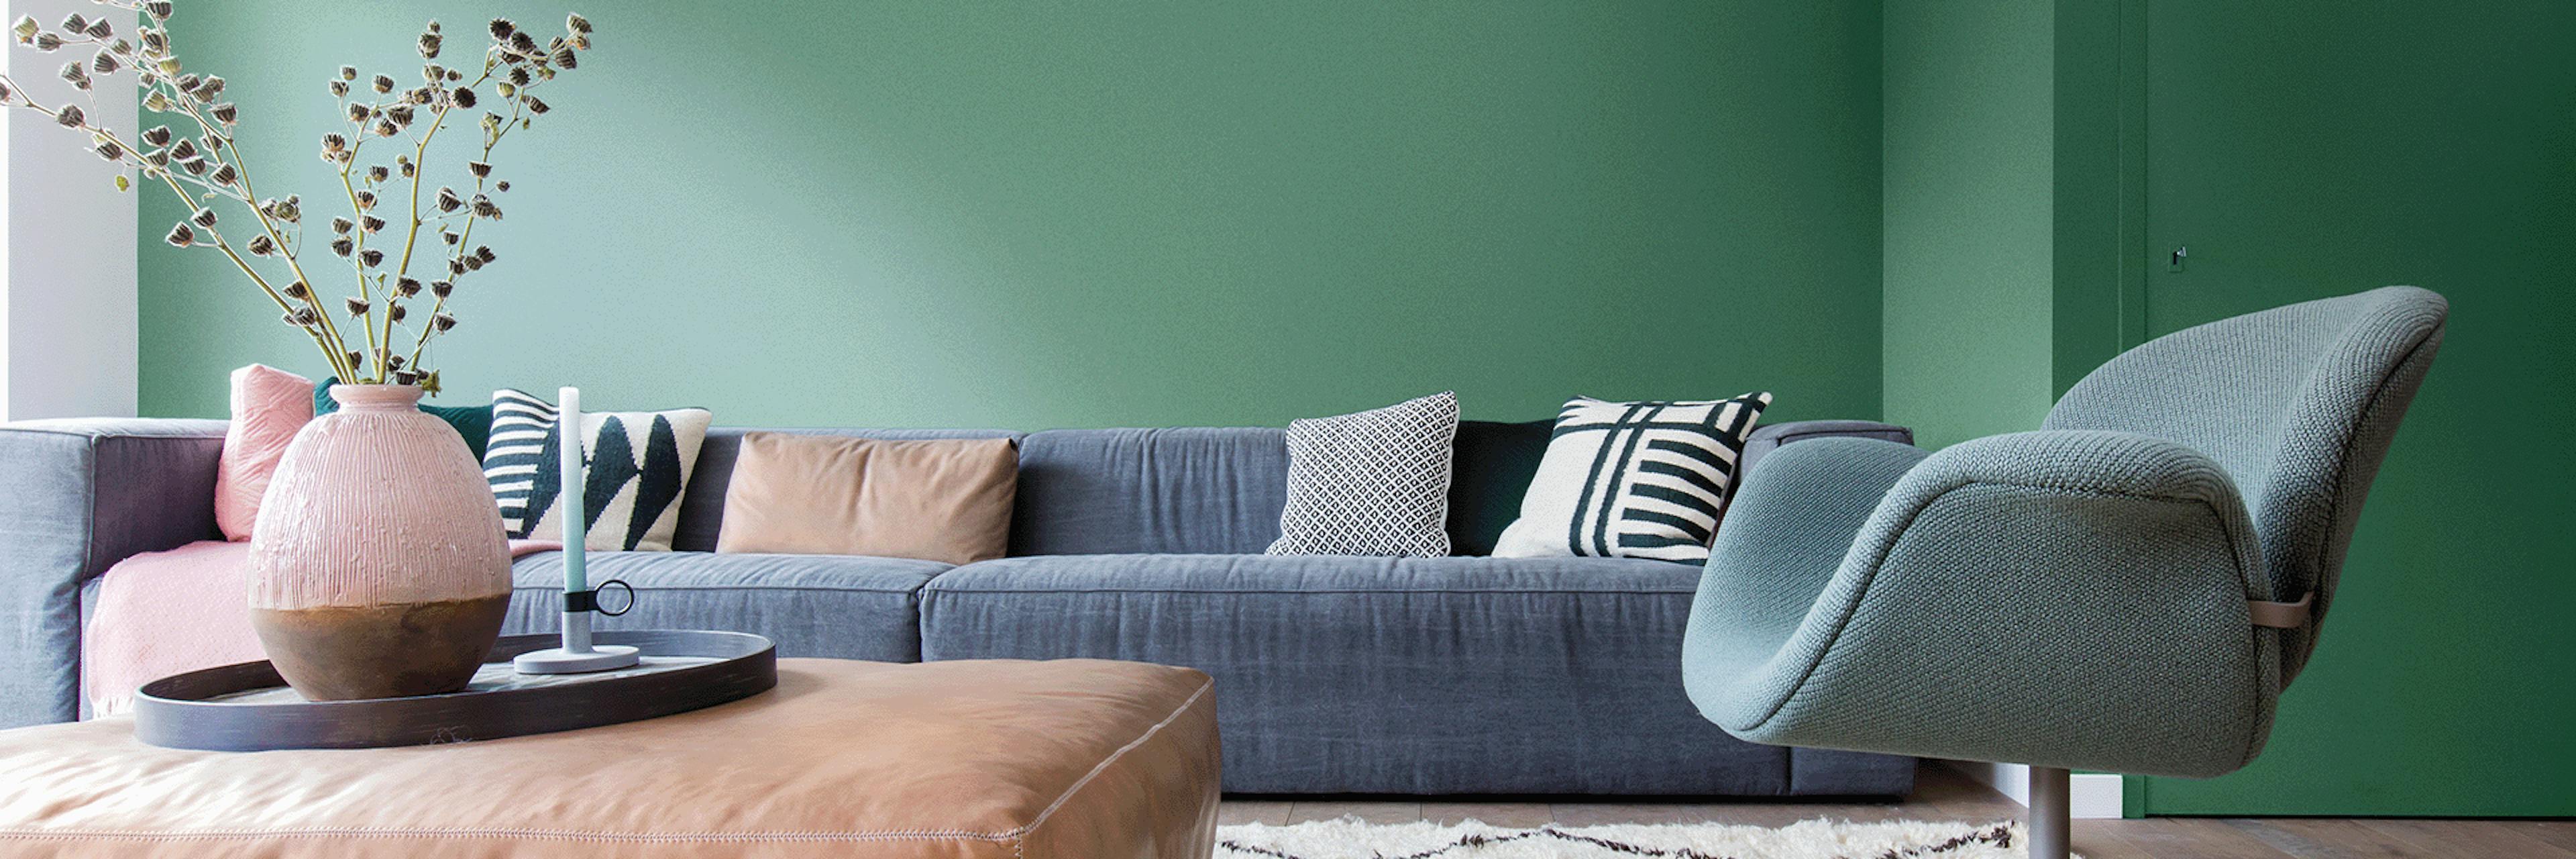
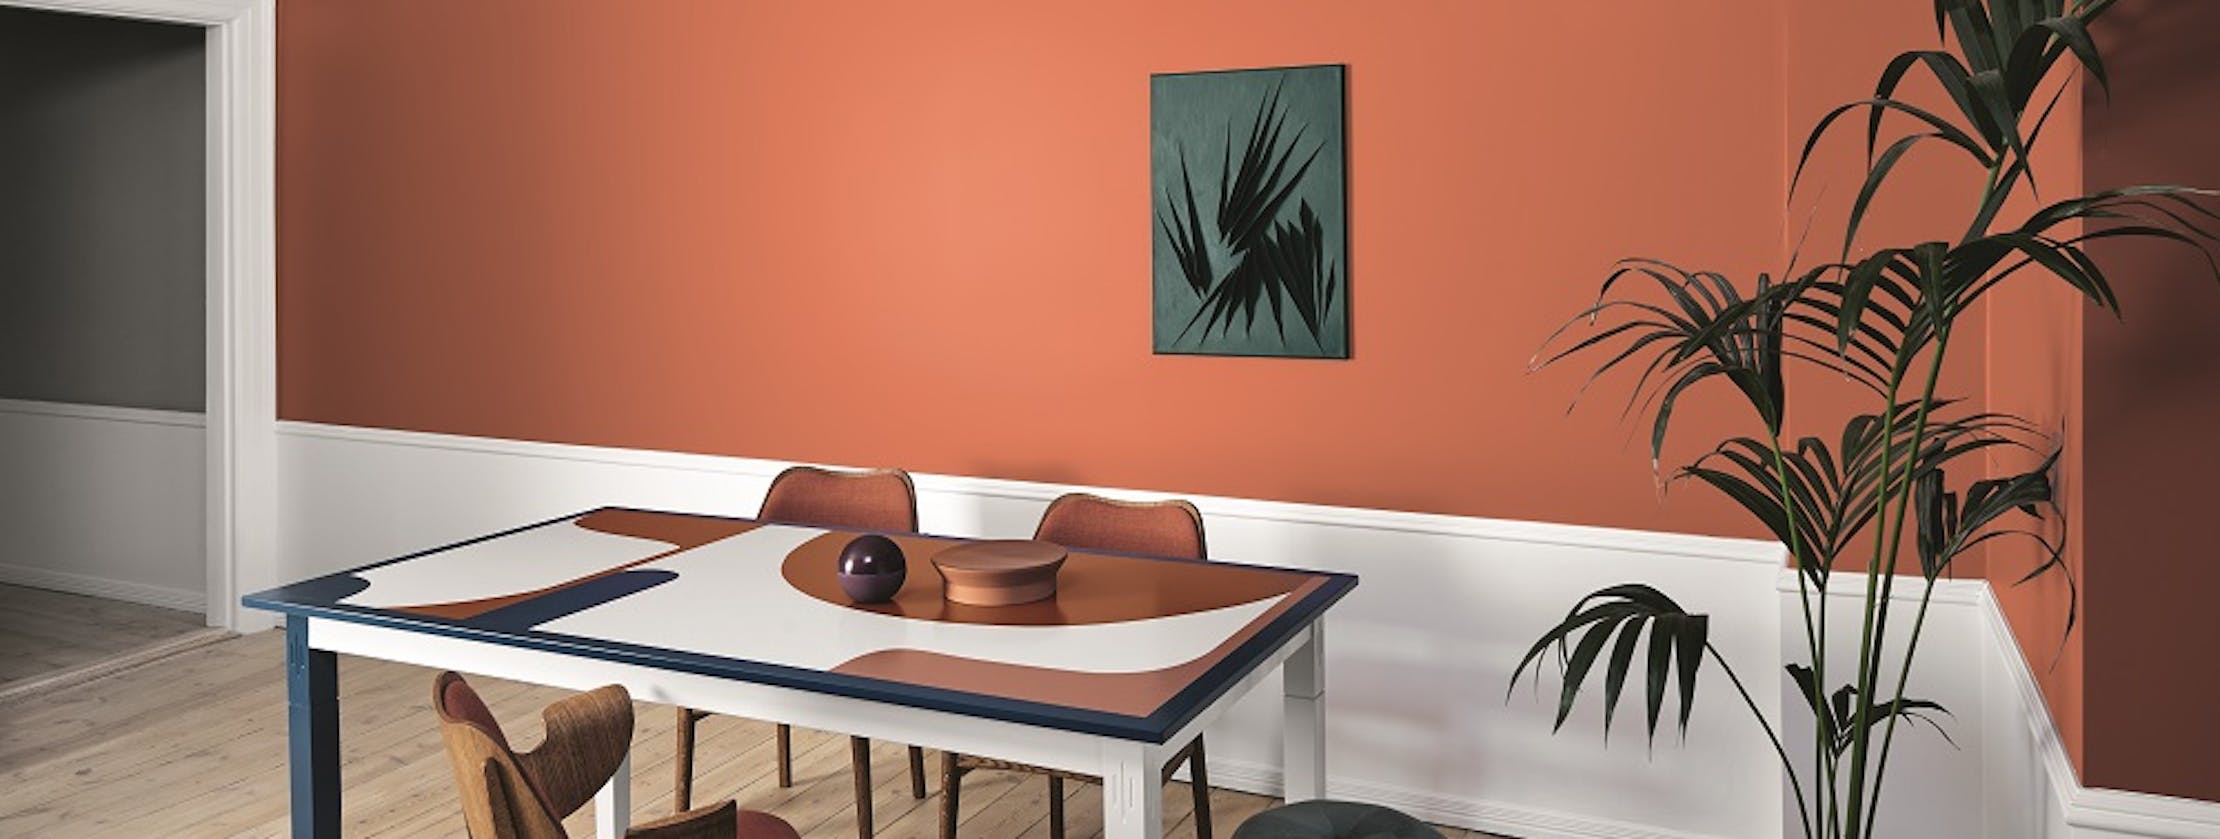
Quality Paint For Your Home Since 1890 Colour Combinations Combine paint colours with confidence using your favourite Johnstone's paint colours
Colour & Inspiration Guides Browse the latest trends, read our helpful tips and design guides, or learn more about our range of Johnstone's Paints
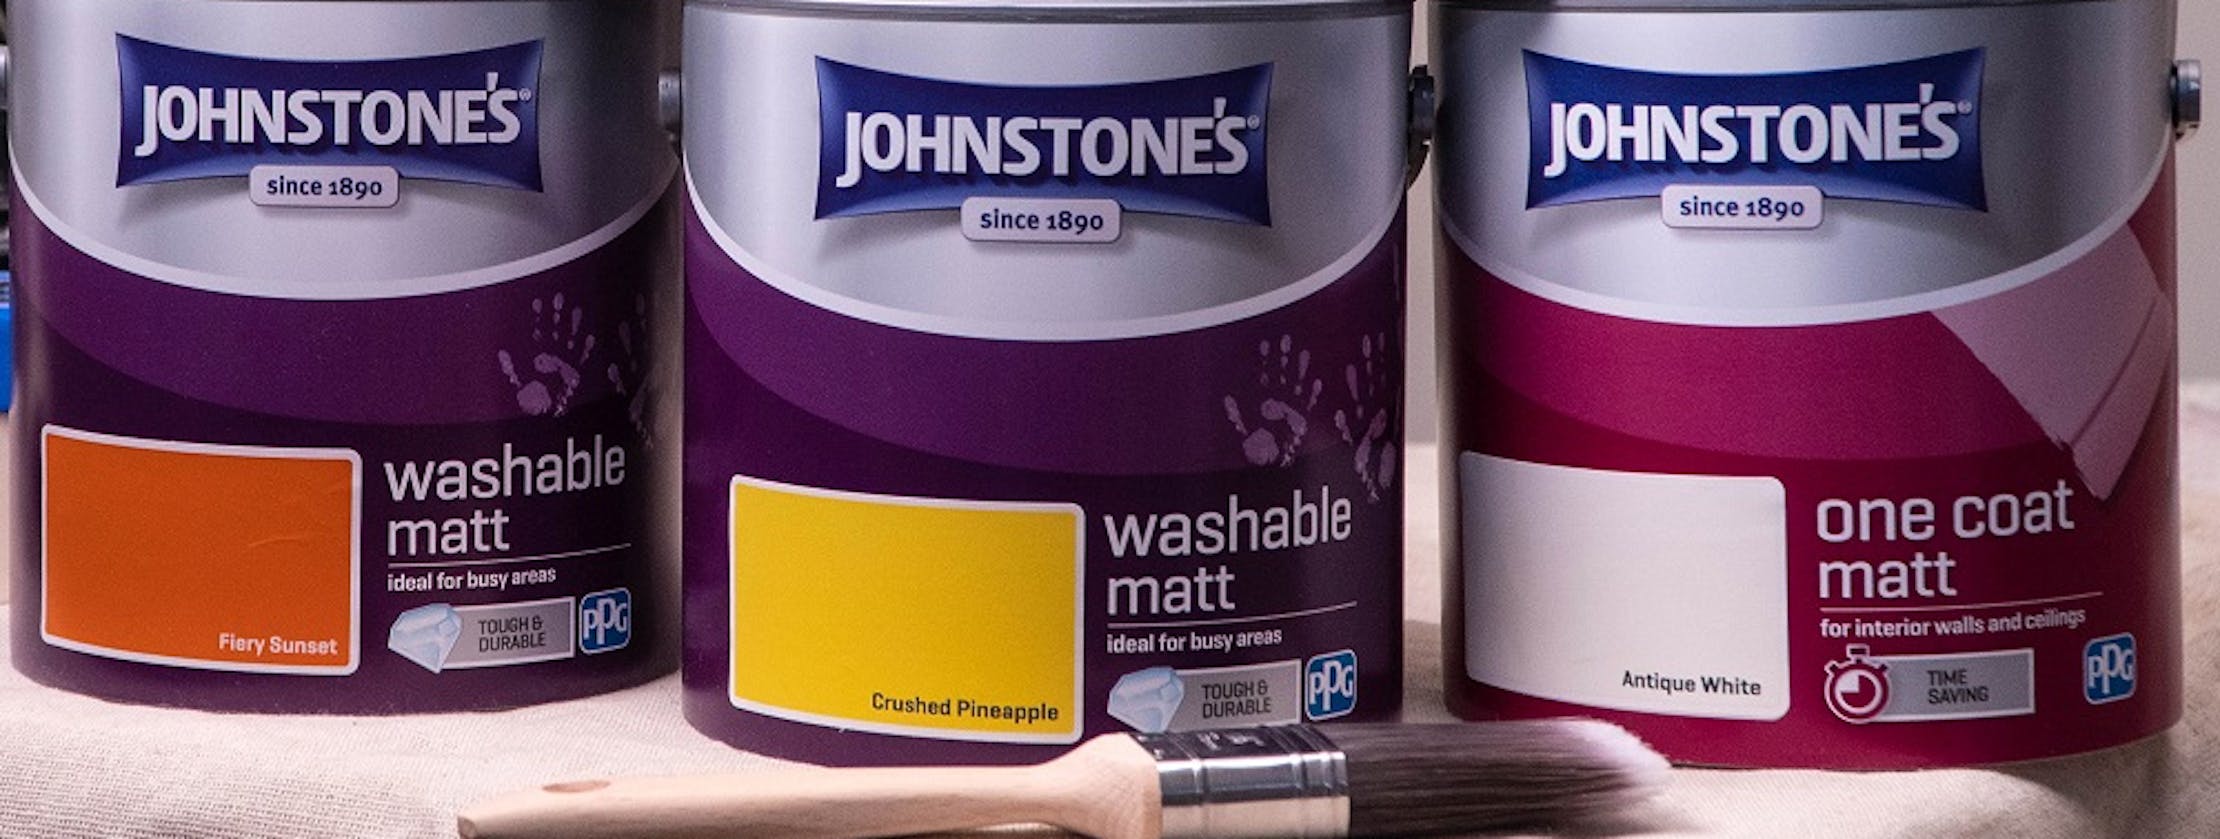
Paint for life’s messy moments No home is immaculate - busy life means that sometimes spills, marks and stains on your walls can be difficult to avoid. With Johnstone's Washable Matt, wiping away mess on your walls has never been easier! This specially formulated paint is highly tough and durable, making it ideal for use in those busy areas of the home.
Shop Washable Matt 1-2 hours dry time 30m2 coverage per tin Matt finish Scrub and stain resistant 1-2 hours dry time 32m2 coverage per tin Matt finish Easy to apply 1-2 hours dry time 32m2 coverage per tin Matt finish Grease and stain resistant 1-2 hours dry time 30m2 coverage per tin Mid sheen finish Moisture and stain resistant 2 hours dry time 20m2 coverage per tin Matt finish Self undercoating properties Luxurious durable matt finish Featuring trend-led colours Easy to apply Intense colour technology Paint Colour Trends Browse our trend stories to get inspiration on how to use and combine colours to create rooms with character.
Discover Trends Choosing the Right Paint A brief guide on how to choose the right paint for you and your project.
Choosing Paint Tips & Advice Here to help you with handy tips for all your paint projects.
Get Advice
Paint Calculator 


